By utilizing different Outbound Sync filters, you can create lists and generate reports to keep your sales and marketing teams informed. Find out how many emails have been sent through Outbound Sync and even track the number of replies, unsubscribed and bounced emails.
Which Outbound Sync filters can I use to create lists?
While you have access to all current Outbound Sync filters (Reply, Sent Emails, Opened Emails, Clicked Emails, Unsubscribed Contacts, Bounced emails),
In this article we will go over how to use the "Sent Email" filter available via Outbound Sync in a list view.
Create a list
To begin, go to your Hubspot Portal and click on "Contacts", then navigate to "Lists".
From there, click on the "Create List" button located at the top right corner of your screen.
When creating a list, select "Contact-Based list" and provide a name that aligns with your naming conventions, if applicable.

Add a filter
Click "Next" and then click on "+ filter" and choose "Outbound Sync" located below your "Integration filters".

If you are unable to find "OutboundSync" as an option in your "Integration filters", it is possible that you have not yet connected the integration or it has been disconnected or uninstalled.
After selecting "Outbound Sync", you will be presented with various filters to choose from. In this example, we will focus on the Email Sent filter.

Click on " Outbound Sync Email Sent Properties" and then click on "Occurred".

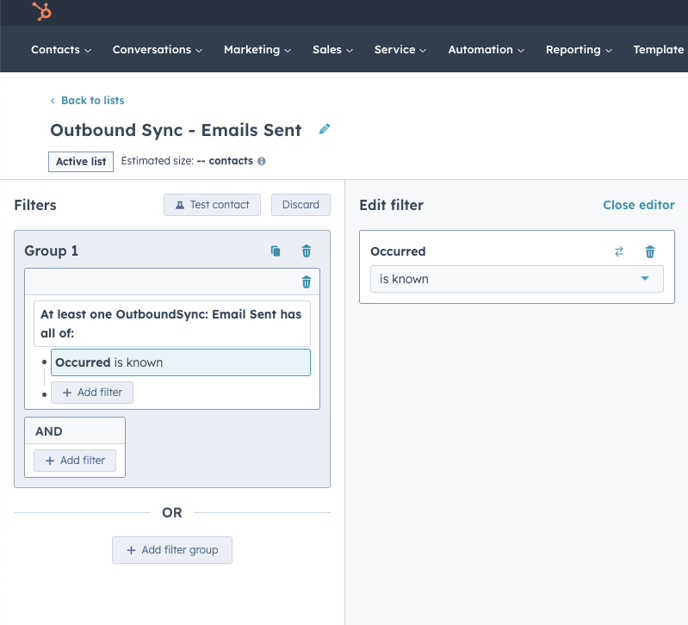
Edit your filter
To set the "Occurred" filter, you must select the desired range of dates.
You can choose a specific date range, select dates after a certain date, or use a filter that displays all contacts who have been sent an email through Outbound Sync, regardless of the date range.
In this example, we want to see every sent email. So, select the option where "Occurred" is set to "is known".
Save your new list
Remember to save your list by clicking on the "Save list" button located at the top right corner of your screen.